Making your own bar soap is a creative and rewarding DIY project that allows you to customize the ingredients, scents, and textures to suit your preferences. Here’s a step-by-step guide to crafting your own homemade bar soap:
Materials You’ll Need:
- Soap Base (melt-and-pour or lye-based)
- Essential Oils or Fragrance Oils (for scent)
- Additives (clays, herbs, exfoliants, etc.)
- Soap Mold
- Mixing Bowls
- Microwave or Double Boiler
- Silicone Spatula
- Rubbing Alcohol (to remove air bubbles)
- Protective Gear (gloves, goggles)
- Optional: Colorants, botanicals, molds for shaping
Steps:
- Choose a Soap Base:
- Decide whether you want to use a melt-and-pour soap base or create soap from scratch using lye.
- Melt-and-pour bases are easier for beginners as they don’t require handling lye.
- Prepare Your Workspace:
- Cover your work area with newspapers or plastic to catch any spills.
- Put on protective gear like gloves and goggles if you’re working with lye.
- Cut or Grate the Soap Base:
- If using a melt-and-pour base, cut it into smaller chunks or grate it for easier melting.
- Melt the Soap Base:
- Use a microwave or double boiler to melt the soap base. Stir occasionally to ensure even melting.
- Be cautious not to overheat, as it can affect the quality of the soap.
- Add Essential Oils or Fragrance:
- Once the soap base is melted, add your chosen essential oils or fragrance oils for scent. Start with a few drops and adjust to your preference.
- Add Additives:
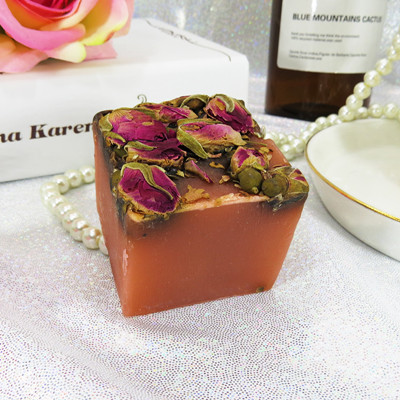
- If desired, add additives like clays (for color), exfoliants (oats, seeds), herbs, or other skin-loving ingredients.
- Pour into Mold:
- Pour the melted soap mixture into your soap mold. Tap the mold gently on the table to remove air bubbles.
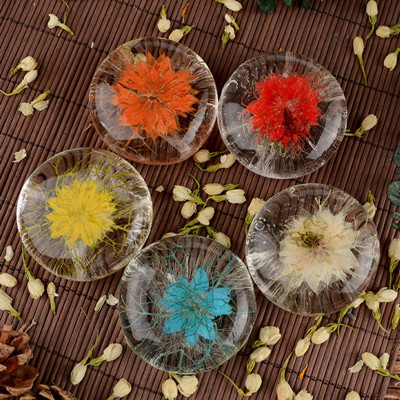
- If using botanicals, sprinkle them into the mold before pouring the soap.
- Spritz with Rubbing Alcohol:
- Spritz the soap surface with rubbing alcohol to eliminate air bubbles and create a smoother texture.
- Allow to Cool and Harden:
- Let the soap cool and harden in the mold for several hours or overnight, depending on the size of the bars.
- Unmold and Cure:
- Once the soap is completely cool and firm, gently pop it out of the mold.
- Place the soap bars on a rack or parchment paper to cure for about 4-6 weeks. This allows excess moisture to evaporate and creates a harder, longer-lasting bar.
- Package and Enjoy:
- Once fully cured, your homemade soap is ready to use or gift. Package it in airtight containers to preserve its freshness.
Remember that soap-making involves precision, especially if you’re working with lye. If you’re new to soap-making, consider starting with melt-and-pour bases before venturing into lye-based soap-making. Always follow safety guidelines, research thoroughly, and have fun experimenting with various scents, colors, and additives to create your perfect bar soap.


